Like people, cats become dehydrated when they lose more fluids than they can replace.
Certain medical conditions in cats can cause dehydration. For example, with chronic kidney disease, more fluid is lost through the urinary system than a cat can replace by drinking water or eating moisture-rich foods. Dehydration can make a cat feel icky.
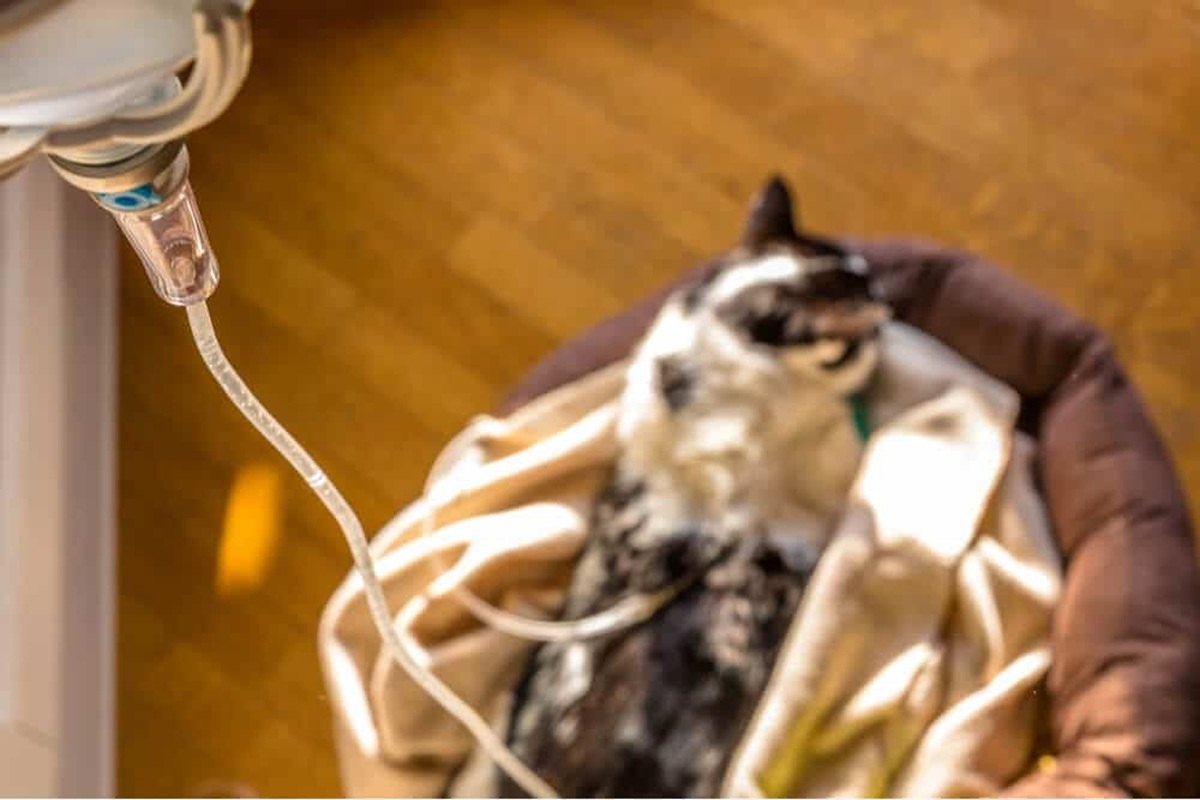
Subcutaneous (SQ) fluids are administered under the skin through a needle. They are a go-to solution for cats whose illness makes them dehydrated. Better yet, these fluids can easily be given at home and are well-tolerated by cats!
Your veterinarian will let you know if your cat needs at-home SQ fluids. It’s understandable, though, if you’re feeling a little intimidated or uneasy about poking your cat with a needle every day. Here’s a video that demonstrates how to do it.
This article will provide you with clear, step-by-step instructions on giving your cat SQ fluids. Although there are a lot of small steps, the process will become easier and quicker the more that you do it.
We’ll break down the steps into several sections:
- Equipment
- Setting Up the Equipment
- Positioning the Needle
- Administering the Fluids
- Final Steps
- Additional Notes
Equipment
Your veterinarian will provide all of the supplies you need to administer subcutaneous fluids at home.
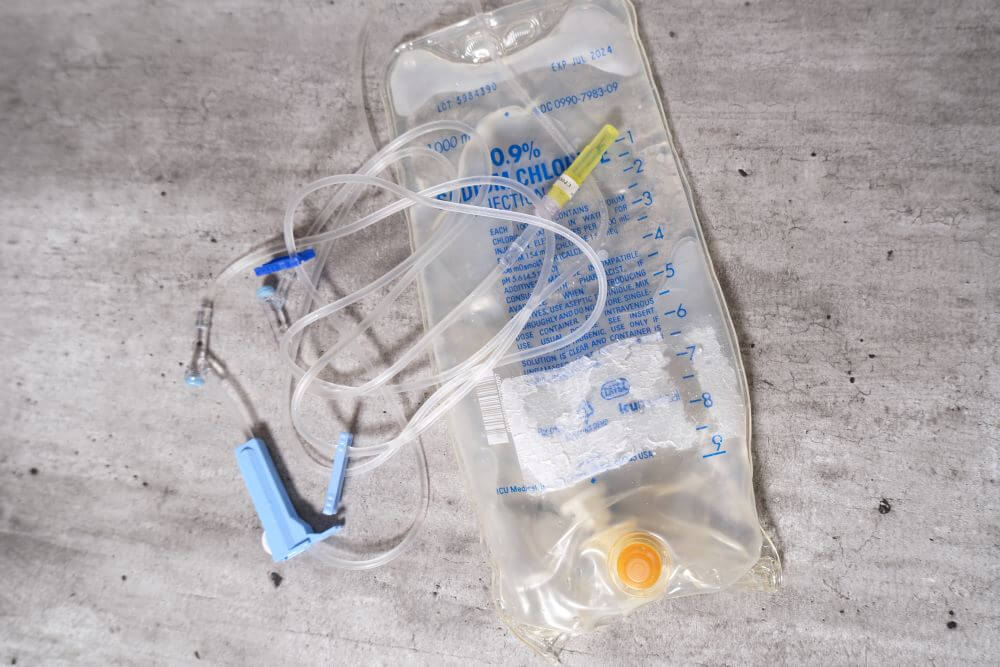
Your veterinarian will provide you with the equipment listed below to give your cat SQ fluids at home:
- Fluid bag: The fluid bag will contain either 500 or 1000 milliliters of fluid. The distance between each number on the bag is 100 milliliters.
- Fluid drip set: This is a long plastic tubing that connects to the fluid bag. It has one or two clamps to control the flow of fluid. It also has a drip chamber where you will be able to see the fluid flowing from the bag.
- Needles: The needles will attach to the bottom of the fluid drip set.
Preparing the Equipment
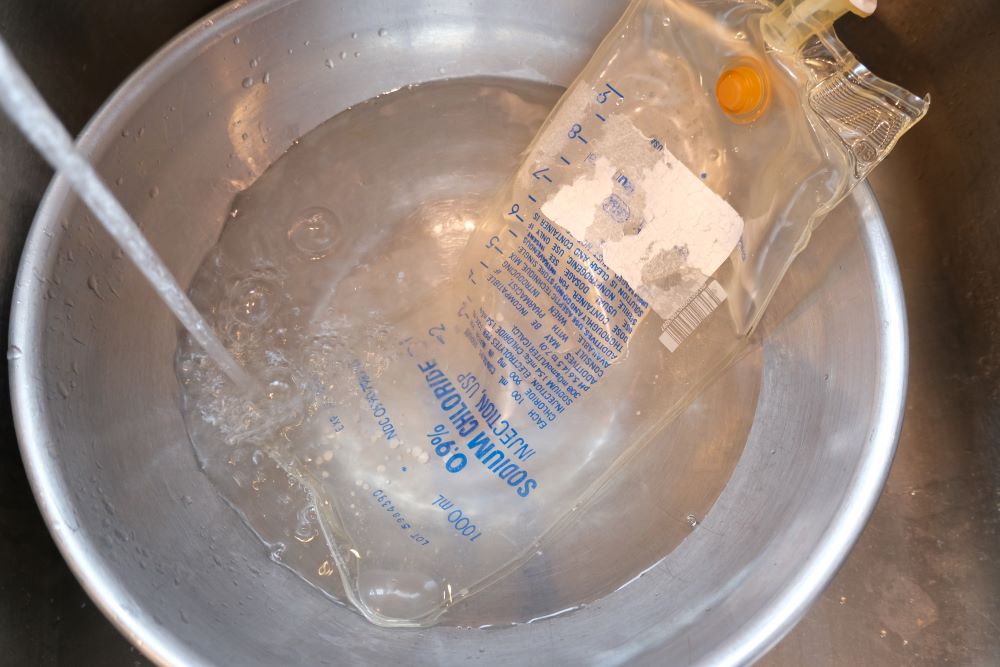
Before giving your cat subcutaneous fluids, warm the bag in water for about 10 minutes. Warm water is more comfortable under your cat’s skin.
- Remove the plastic covering from the fluid bag.
- Make sure that the fluid is clear. Any discoloration indicates possible contamination.
- Warm the bag by placing it in a bowl that is partially full of lukewarm water for about 5-10 minutes.
- Remove the plastic packaging from the fluid drip set. Move the clamps into the closed position to prevent fluid from flowing through the tube.
- Remove the plastic covering from the white spike on top of the fluid set. Do not touch the spike with your fingers.
- Remove the plastic seal from the administration port on the bottom of the fluid bag. Twist the spike firmly into the port without poking the side of the bag.
- Using a wire hanger, loop the hook of the hanger through the circular opening at the top of the fluid bag.
- Position the wire hanger on the top of a door or shelf, with the numbers on the bag facing you. The bag should be high enough so that it is about 2 feet above where your cat will be.
- Gently squeeze the drip chamber a few times to fill it about 1/3 to ½ full.
- Open the clamps on the drip set to allow fluid to flow through the line until you no longer see air bubbles. Close the clamps again.
- Remove the needle from its packaging, keeping the needle’s cap on.
- On the end of the fluid drip set, remove the plastic covering, being careful not to touch the exposed area.
- Secure the needle onto the end of the drip set, leaving the needle’s cap on.
Positioning the Needle
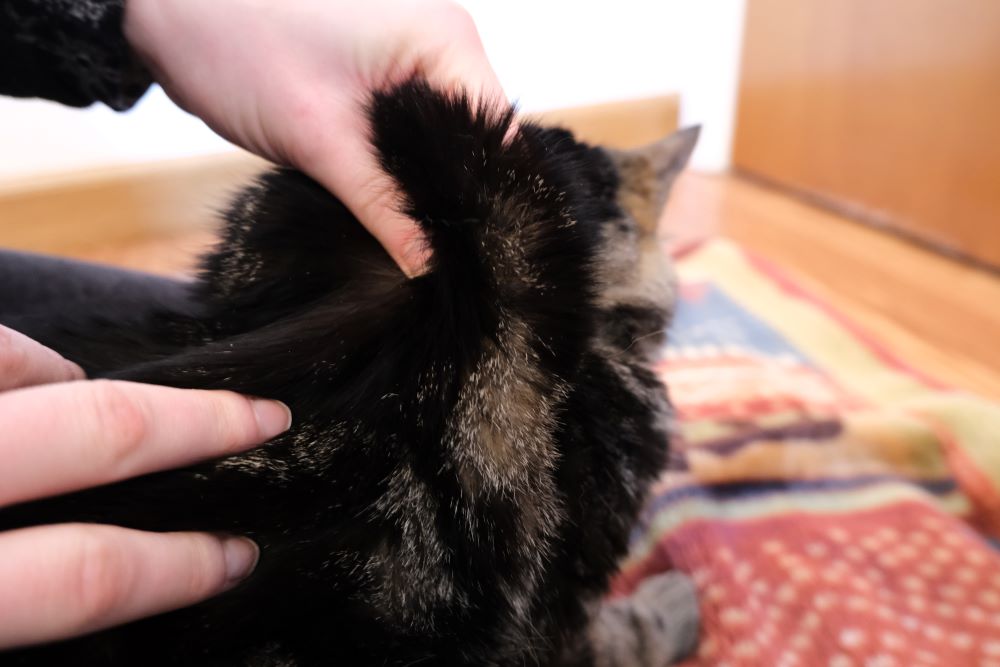
Before you insert the needle, find the spot on your cat’s back, near the neck, where their skin is the loosest. Pinch this skin, forming a tent. This is where you’ll insert the needle.
- Get your cat comfortable. You want your cat to be comfortable enough to lie still for the roughly 5 minutes that it will take to administer the fluids. For example, your cat can rest in your lap while you sit in a chair.
- Remove the cap from the needle and keep the cap nearby.
- Hold the hub of the needle with the thumb and index finger of your dominant hand. The hole of the needle should be facing up.
- With your other hand, gently scruff your cat just behind its neck to form a large tent of skin.
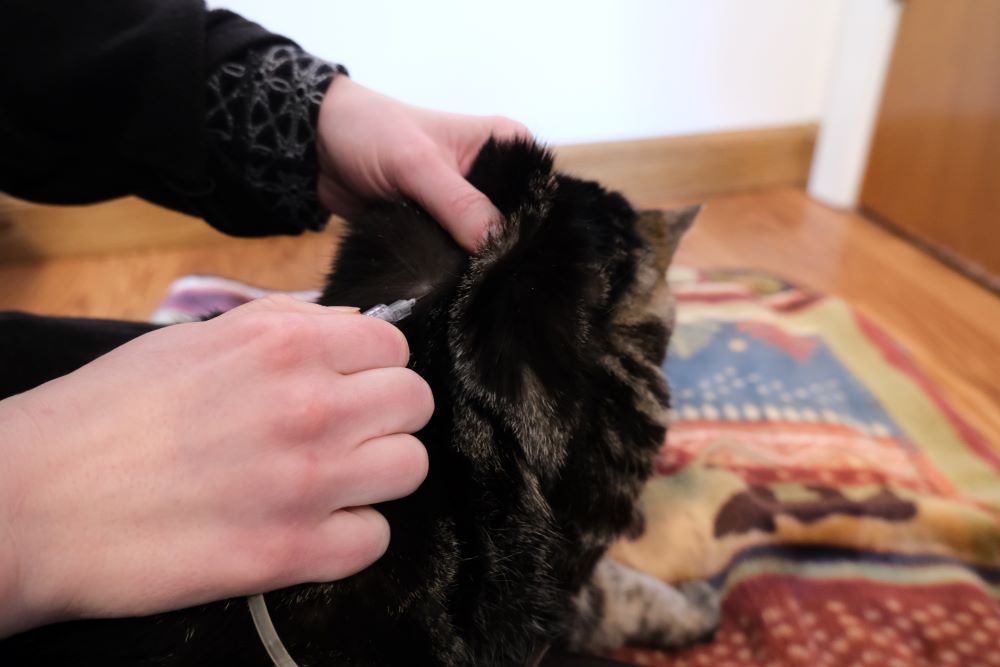
Insert the needle into the skin tent you created in the last step. The hole of the needle should be pointed up (towards the ceiling).
- With a quick and smooth motion, insert the needle into the middle of the tent. Alternatively, you can pull the tent of skin back until the needle enters under the skin. Keep the needle parallel to your cat’s spine.
- Once the needle is under the skin, release the tent. You can hold the end of the drip set to keep the needle in place.
Administering the Fluids
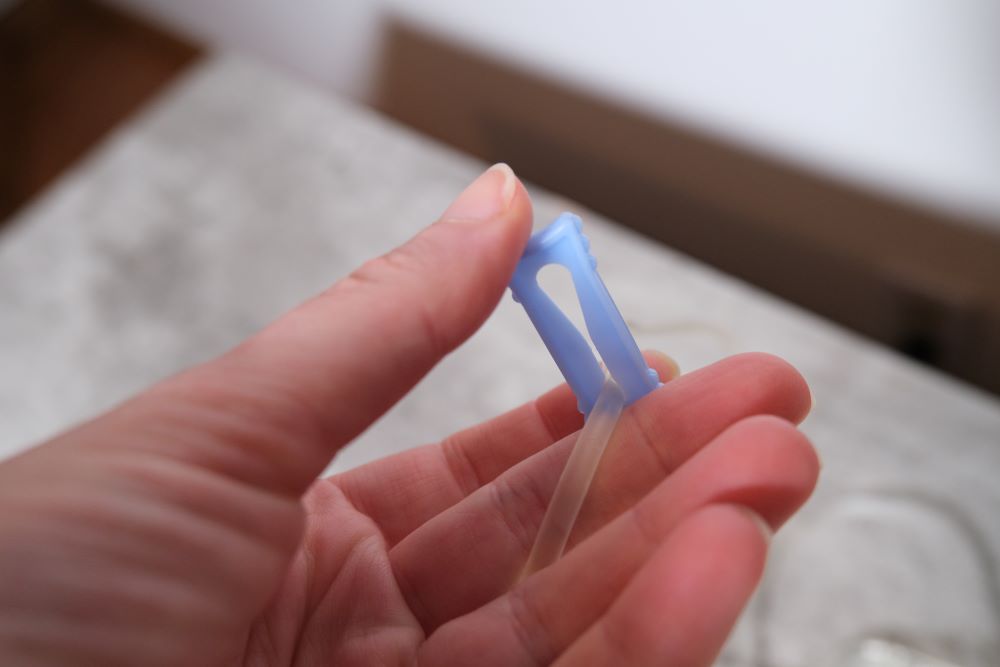
Open the clamp so that the tube passes through the open side, allowing fluid to flow through. In the photo above, the clamp is shutting off the flow of fluid. Sliding it into the open side would allow fluid to move.
- With your free hand, open the clamps to let the fluid flow as quickly as possible.
- Watch the injection site. If the fluid is flowing out onto your cat’s fur, the needle has likely gone through the skin. If this happens, close the clamps and remove the needle from the skin. Then, replace the needle and re-insert the new needle.
- Stroke and talk to your cat during fluid administration. You can even feed a few treats to keep your cat distracted.
- Watch the drip chamber. If the flow of fluid stops or slows, reposition the needle slightly under the skin (without removing the needle from the skin). You could also try elevating the fluid bag even higher. Watch the drip chamber again to ensure that the fluid is flowing quickly again.
Finishing Steps
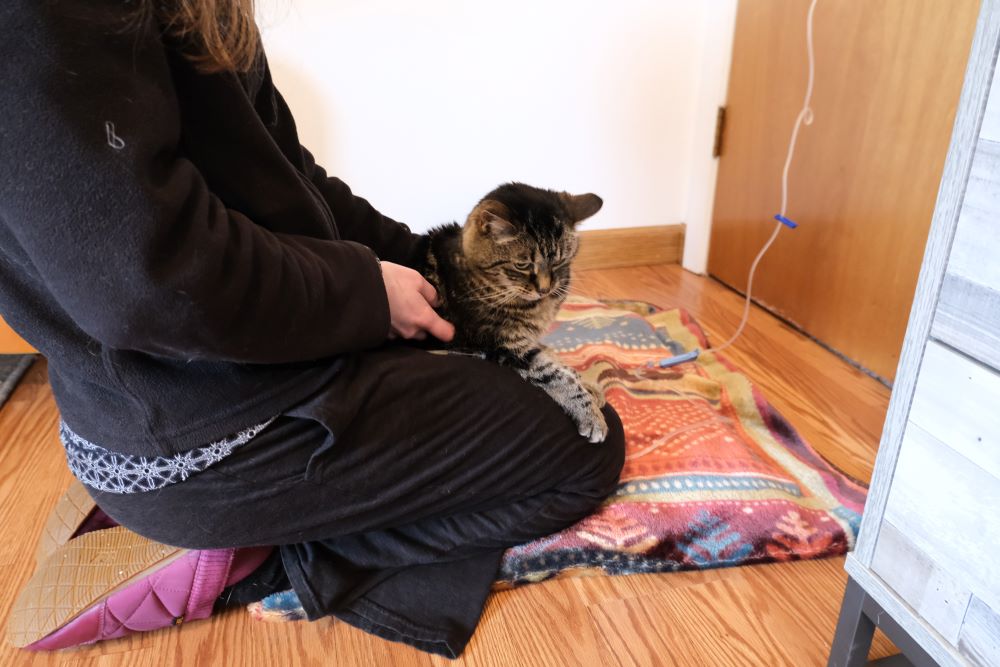
Fluid administration usually takes about 5 minutes. During that process, sit with your cat, stroking and talking to them. Keep an eye on the fluid bag to make sure that the fluid is flowing and to know when to stop.
- Once you’ve administered the prescribed amount of fluid, close the clamps and remove the needle from the skin. You may see a little fluid leakage from the injection site; this is normal.
- Recap the needle, being careful not to poke yourself.
- Remove the needle from the fluid drip set and place it in a thick plastic container. When this container is full, take it to your veterinarian for proper disposal.
- Place a new needle onto the end of the fluid drip set.
- Make a mark on the fluid bag to indicate the amount of remaining fluid.
- Place the bag, with the fluid drip set still attached, into a clean plastic bag. Place this bag in the refrigerator.
- Repeat all steps listed above for the next administration of fluids.
Additional Notes
- Inserting the needle under the skin won’t be painful for your cat. Your cat may flinch but won’t be in actual pain. Usually, if a cat flinches and seems uncomfortable, it’s because the fluid is cold. Check to make sure you’re giving them body-temperature fluid.
- The same fluid drip set can be used until a fluid bag is empty. When starting with a new bag, attach a new fluid drip set.
- Each injection site can handle about 60-100 milliliters of fluid. If your cat needs more than 100 milliliters of fluid, your veterinarian will likely advise you to divide the total amount of fluid over multiple injection sites.
- Your cat will have a large lump of fluid on its back after each fluid administration. This lump should go down in about 6-8 hours as your cat’s body absorbs the fluid. Notify your veterinarian if the lump doesn’t go down.
- Always follow your veterinarian’s instructions and let them know if you have any questions or concerns about administering the SQ fluids at home.
Frequently Asked Questions
Can you give a cat too much SQ fluids?
If you’re not paying attention to the fluid bag, you can give your cat far more fluids than they actually need. Give only the prescribed amount of fluid.
How much SQ fluids should I give my cat?
That depends. Your veterinarian will calculate the amount of SQ fluids that your cat will need per administration.
What do SQ fluids do for cats?
SQ fluids help to keep a cat hydrated when their medical condition causes them to lose more fluids than they can replace on their own. The fluids are absorbed slowly by the body over several hours.
What can you give a dehydrated cat?
Other than SQ fluids, it is always good to provide a dehydrated cat with free access to clean, fresh water. Also, feeding canned foods can add more water to a cat’s diet, helping with hydration.


Where are all the helpful comments posted by readers??
We have not had any comments on this page yet 🙂