Katelynn Sobus / Cats.com
Cats are very good at grooming themselves and don’t often need our assistance to keep clean. While it’s difficult for them to reach their ears, ear cleaning is not something that is commonly required.
Read on to find out what to look out for when checking your cat’s ears, when you might need to step in to clean your cat’s ears, and how to do so step-by-step.
What To Look for When Checking Your Cat’s Ears
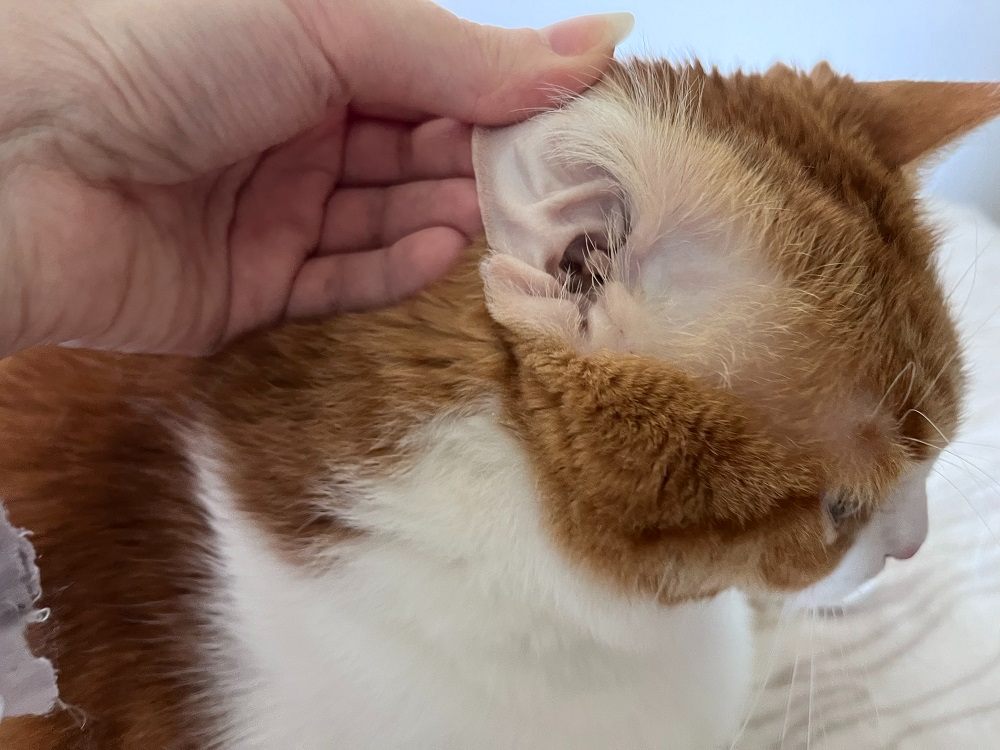
Check your cat’s ear regularly for mites, infection and other issues. Katelynn Sobus / Cats.com
It’s always best to check your cat over regularly, including their ears. Getting your cat used to having their ears handled and examined when they are young helps reduce the stress of these experiences as they get older. Cats can get ear mites and bacterial/yeast ear infections.
If your cat has ear problems, symptoms you might see include the following:
- Red, inflamed ear flaps
- Discomfort or pain when ears are touched
- Excessive ear wax/discharge
- Foul odor from the ears
- Frequent scratching and/or rubbing of the ears
- Frequent head shaking
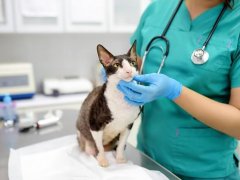
If you notice any of these signs, it’s time to book a vet visit. Your veterinarian will carefully assess your cat’s ears carefully with an otoscope. They might take a sample from the ears to look under the microscope and check for mites, bacteria, and yeast. Appropriate treatment can then be prescribed so that your cat can soon feel more comfortable.
Also Read: Why Do Cats Put Their Ears Back?
When Your Cat’s Ears Should Be Cleaned
Ear infections usually require medicated ear drops from a veterinarian. Katelynn Sobus / Cats.com
If you notice some wax build-up in your cat’s ears and your cat isn’t showing any of the above signs, consider giving their ears a good clean. If left uncleaned, it can lead to irritation and the development of ear infections. On the other hand, if your cat’s ears are already visibly free from wax and debris, there’s no need to clean them. Overcleaning can also result in irritation and infection.
If your cat has been diagnosed with an ear infection, your veterinarian will likely have advised ear cleaning before applying medicated ear drops. In this scenario, removing as much of the wax and discharge as possible allows the ear drops to work more effectively.
Also Read: Ear Discharge In Cats: Causes, Symptoms, & Treatment
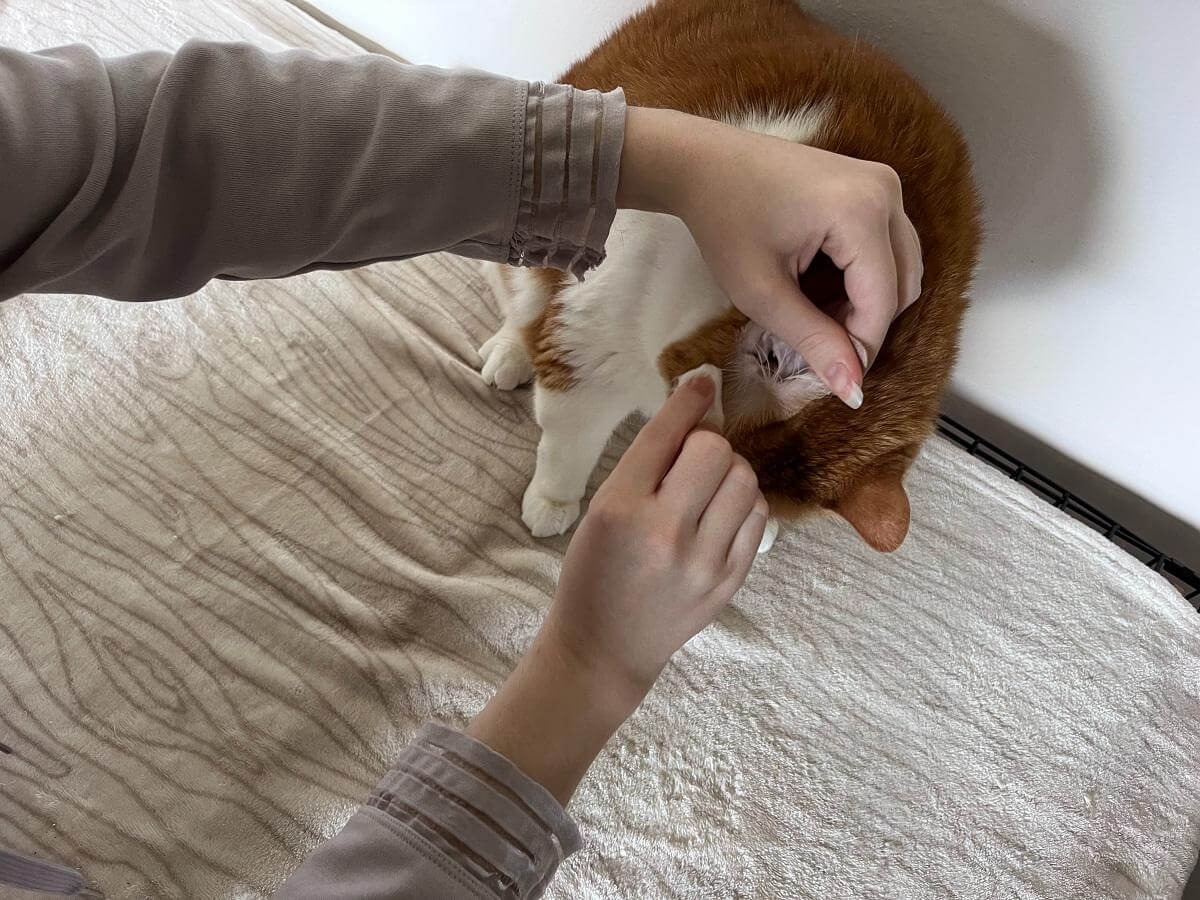
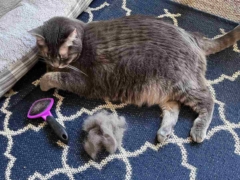
10 Steps To Clean Ears
Cleaning your cat’s ears may sound daunting, but with the right tools and a patient, gentle touch, it will become part of your cat care routine. Katelynn Sobus / Cats.com
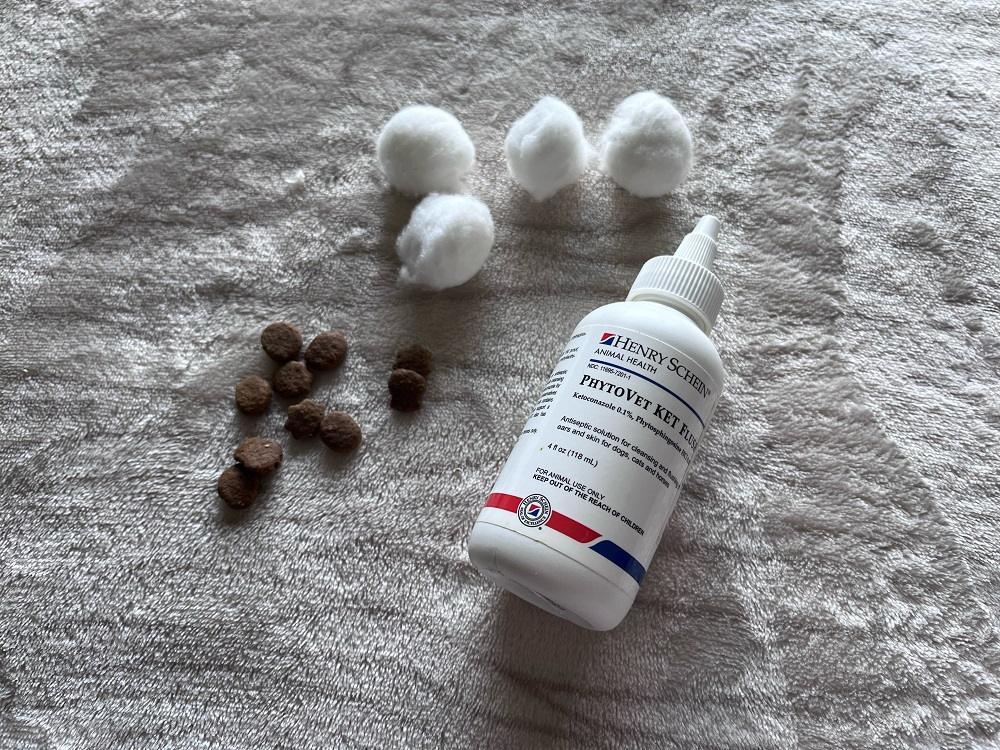
- Firstly, gather all the necessary supplies so that you have them to hand. You will need:
- A specially formulated feline ear cleaner. Your veterinarian will be able to recommend one if you are unsure which one to use. Do not use hydrogen peroxide, vinegar, or rubbing alcohol. These are often recommended as home remedies but can cause irritation.
- Cotton wool/cotton balls/cotton pads. Do not use cotton swabs/Q-tips as they can end up pushing wax further down the canal and can also cause damage to the ear canal and eardrum.
- Towel (optional)
- Treats
- Gently restrain your cat. If you are on your own, the best way is to position them so that they are facing away from you. You can then hold their body against you. If you have someone to help you, they can hold your cat around their front legs from behind. This will prevent your cat from wriggling away. For extra restraint, consider wrapping your cat in a towel to make a ‘cat burrito’. In this way, only their head is exposed, and their claws are safely tucked away from you. This method also helps to calm them.
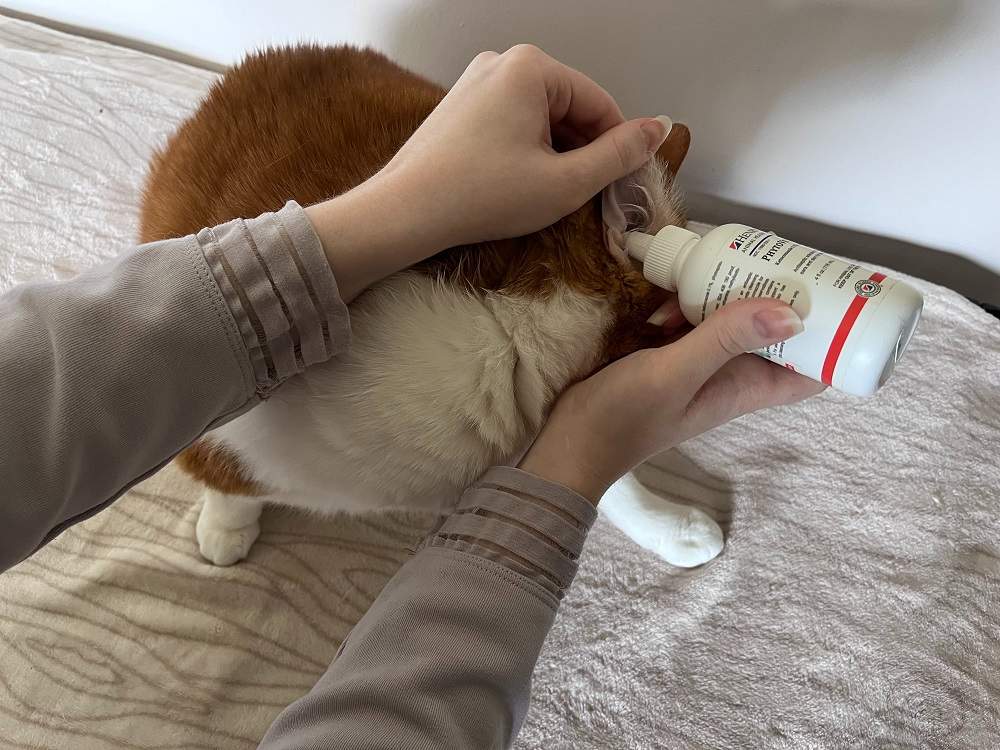
- Pull the ear flap (pinna) back gently so that you can see the opening of the ear canal better.
- Take the ear cleaner bottle and angle the nozzle tip towards the ear canal opening. Give a gentle squeeze so that you ‘flood’ the ear with the cleaning solution. Any excess solution will spill out after so don’t worry about applying too much. Try not to touch the ear with the nozzle. If you do, make sure to give it a good cleaning before using it again to prevent the spread of any bacteria or yeast.
If your cat is resistant to having solution applied directly in their ear, you can soak a cotton ball with the solution instead. Place the cotton ball no further than the opening of the ear canal and massage as below.
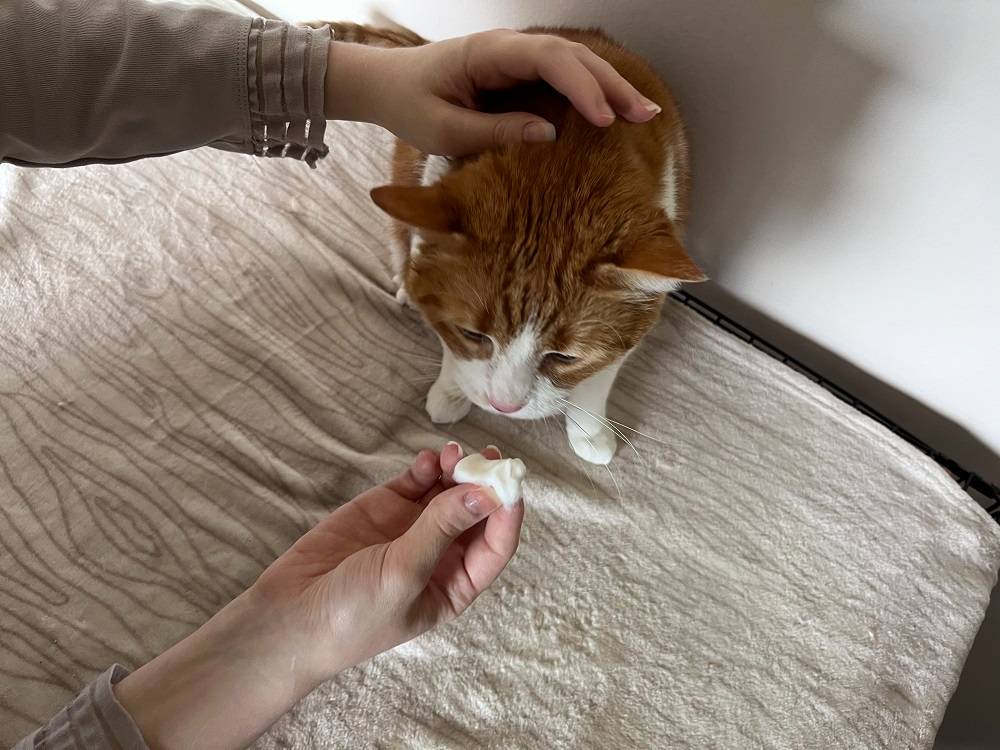
Giving your cat a lot of love, attention and treats during their ear cleaning will help give your cat a positive experience. Katelynn Sobus / Cats.com
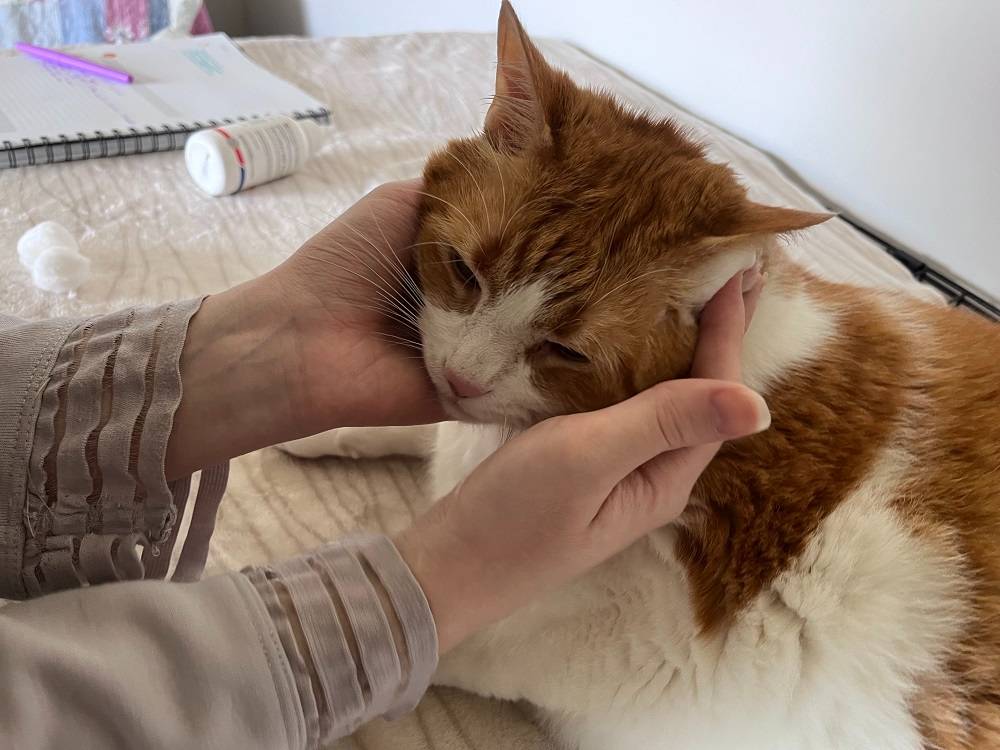
- Massage the base of the ear for around 30 seconds to allow even distribution of the ear-cleaning. You should hear a satisfying squelching noise as you do this, which indicates you’ve applied an adequate amount of solution. The solution will loosen and break up the wax and debris in the ear canal. Try not to let your cat shake their head at this stage.
- Once you’ve finished massaging the base of the ear with your thumb and index finger, stand back a little and let your cat shake their head to remove any excess solution.
- Take some cotton wool or a cotton pad or ball and clean out the ear with gentle wiping motions. Do not force your finger down the ear canal.
- Repeat until the cotton wool or cotton pad comes away clean, without any stains. Make sure the ear has dried as much as possible.
- After the first ear has been cleaned, give your cat a break. Plenty of fuss, attention and treats will help to make the ear-cleaning process more positive for your cat!
- Repeat the above steps with the second ear.
If your cat becomes very stressed and anxious, it’s best to stop and try again at a later time.
If you feel hesitant about cleaning your cat’s ears at home, get in touch with your veterinarian. They will be happy to assist and demonstrate the steps required so that you feel more comfortable about doing it on your own.
Also Read: Ear Mites In Cats: Causes, Symptoms & Treatment
Conclusion
Cats are very good at keeping their own ears clean. Occasionally, they need gentle help from their humans to make sure they stay clean. Katelynn Sobus / Cats.com
Cats are mostly very good at keeping their ears clean, even though they are hard to reach. It’s still always best for you to check their ears regularly to make sure they are in tip-top condition.
You are now equipped with the knowledge of how to properly clean your cat’s ears. Ear cleaning can be a strange experience for a lot of cats so it’s important to take things at their pace to minimize the stress for all involved.
Also Read: The 7 Best Ear Mite Treatments For Cats
Frequently Asked Questions
Should I clean inside my cat's ears?
Most of the time, we don’t need to clean our cats’ ears. However, if you’ve noticed some waxy build-up or your vet has advised cleaning, then using a specially formulated feline ear cleaner is the way to remove any wax and debris.
What kind of home remedy can I use to clean my cat's ears?
We advise against using the typical DIY cleaners for cat's ears that are commonly found on the internet. Hydrogen peroxide, vinegar, and rubbing alcohol are all recommendations you might find online. These can easily cause irritation to the delicate skin of your cat’s ears. Instead, opt for a feline ear cleaner that has been formulated to be gentle on the ears.
How can I tell if my cat has ear mites?
Signs of mite infestation include:
These are also signs of infection. If you notice any of these signs in your cat, it’s important to bring them to your veterinarian. Your veterinarian will perform a thorough clinical exam to determine the cause of your cat’s ear problem.


Really helpful article, Dr. Ho. Has helped me make a decision.
Glad to hear it. Thank you!